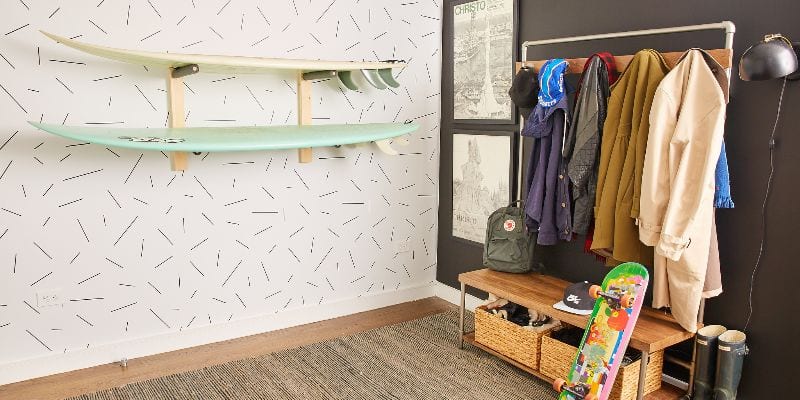
In case you own multiple skateboards, creating your own skateboard rack is definitely a cost-efficient way for you to properly store your boards while keeping them up from the floor. An easy and basic skateboard rack will be attached to the wall in your bedroom, storage room or garage having the boards positioned horizontally and certainly held up by wood dowels. The height of the rack can easily be raised or lessened for the number of boards that you need to store.

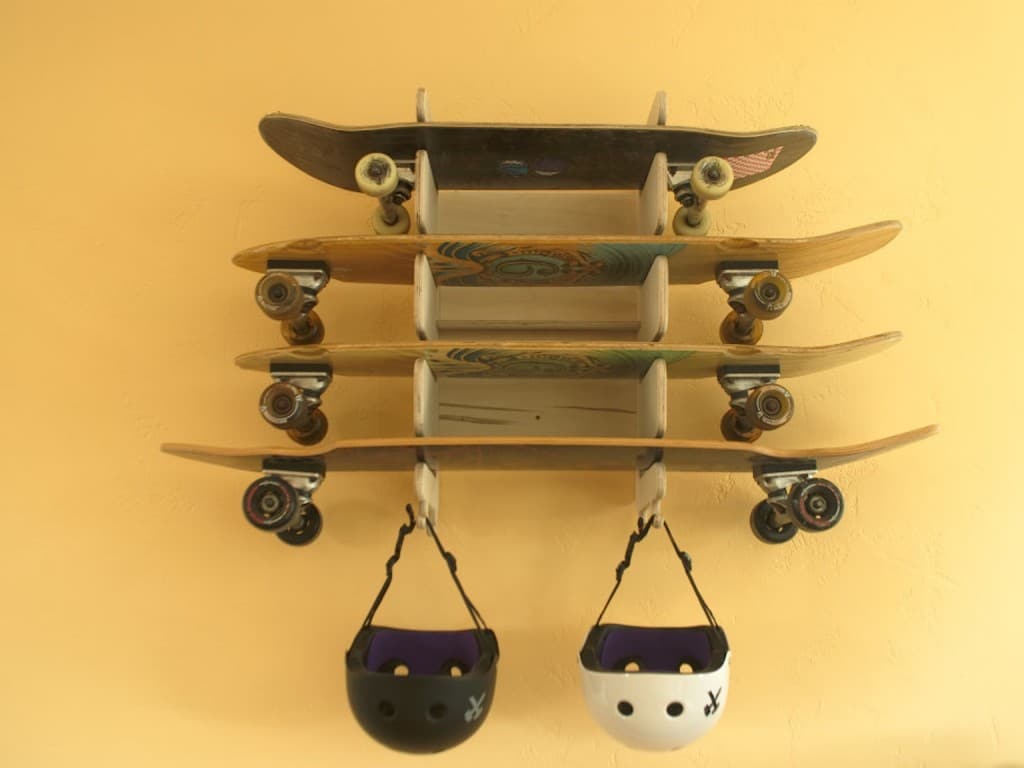
A skateboard rack is an effective method of getting your entire boards up from the ground. Creating one is easy and requires just a couple of tools and several basic kinds of wood. This rack will place your boards vertically with lots of area for the trucks and certainly wheels. It definitely will fit in any room, yet the higher the ceiling, the greater the number of boards it certainly will hold. So here’s an easy way on how to make a skateboard rack.
How to make a Skateboard Rack
Materials and Tools Needed
- 2 wooden board ( 4ft x 2 x 4 inches ) preferable oak or pine
- 2 wooden board ( 2ft x 1 x 6 inches ) preferable oak or pine
- 10 pcs 1-inch diameter wood dowels cut to 10-inch lengths
- 8 pcs #8 1-inch wood screws
- 4 pcs #6 2-inch drywall screws
- Wood glue
- Level
- Tape measure
- Pencil
- Hand saw or circular saw
- Drill
- 1-inch drill bit
- 3/8-inch drill bit
Instructions for Building the Frame
Step 1: Locate the position of the Skateboard Rack
Decide the location wherein you’ll mount the skateboard rack. Measure 4 to 6 feet from the ceiling towards the ground and with the use of a pencil, add a mark. Here is the top position of the left vertical support and is going to change in accordance with your personal choice. Do this step again and mark a further position 2 feet towards the right of your 1st pencil mark, but at the exact same height. This is going to be the position for the top of the right standing support.
Step 2: Line your boards
Place the two 2ft x 4 x 4 inches board on a plane surface along with the wide (4 inches) surface having contact with the ground. Place the two 2-foot by 2-inch by 4-inch boards onto the 4-foot boards, and having 6 inches starting at the top and the second 6 inches starting at lower. These would be the horizontal boards which will be attached to the wall. To get rid of the edges of the vertical boards, line up the edges of the horizontal boards.
Step 3: Drill holes
Drill two beginner holes using the 3/8-inch drill bit at the very top and of course at the bottom of each and every horizontal board. You’ll have 8 holes once finished. Fasten a # 8-inch wood screw into each single starter hole to ensure the horizontal boards towards the vertical boards. Reverse the rack over which means that horizontal boards are on the ground.
Step 4: Attach the rack on to the wall
Beginning at the very top of the board, mark 8 inches down the side of every vertical board. You’ll have six pencil marks on every board, however, will only have to use five. Using the 1-inch drill bit, drill a 1 1/2 inch hole on the 5 pencil marks. Put in a generous quantity of wood glue in every hole and then add in the wooden dowels, ensuring they’re tightly positioned. On each of the horizontal boards, drill 2 holes 16 inches apart from each other with the use of a 3/8 inch drill bit. It is at this point that you will attach the rack to the wall.
Instructions for Mounting the Skateboard Rack on the Wall
Step 1: Plugin screws
Put the rack contrary to the wall, ensuring the tops of the vertical boards are aligned using the pencil you made on the wall previously. Attach the skateboard rack through the wall by adding a dry screw #6 on the hole in the top left portion of the rack. Be sure you are screwing right into a wall stud.
Step 2: Level the rack
Make use of the level to ensure the rack is level and after that screw with the 2nd drywall screw throughout the top right hole. The rack must now be level and be qualified to support its own weight and size. Secure the undermost horizontal board towards the wall by using the last two drywall screws.
Tips and Warnings
- To ensure the dowels are sticking out the exact distance from the rack, be cautious to make every hole the exact depth. From the tip of the drill bit, measure 1 1/2 inches, wrap up a bit of masking tape at the moment. Whenever you drill, just proceed till the taped section of the drill bit will make contact with the wood.
Here’s more! Watch this simple video tutorial for another way on how to build a very easy skateboard rack.
Just like any other thing, if you store your skateboard properly, it will last for a long time. Make sure to work safe and when you are on your knees, use a foam roller to protect your body. Here a the best foam roller list for you to review. Post your skateboard rack on our Facebook page and let us know how it went!

Welcome to the Active Thrills community! We, Nash and I, are the owners and authors of this special platform. We are so thrilled to say that this is definitely running actively to continue sharing all information and knowledge that we have about skateboarding, extreme sports, and gadgets in order to reach more and more people all over the world.


1 comment
Good information was shared, thanks for this.